- Overview
- Requirements
- Deployment templates
- Manual: Preparing the installation
- Manual: Preparing the installation
- Step 2: Configuring the OCI-compliant registry for offline installations
- Step 3: Configuring the external objectstore
- Step 4: Configuring High Availability Add-on
- Step 5: Configuring SQL databases
- Step 7: Configuring the DNS
- Step 8: Configuring the disks
- Step 9: Configuring kernel and OS level settings
- Step 10: Configuring the node ports
- Step 11: Applying miscellaneous settings
- Step 12: Validating and installing the required RPM packages
- Step 13: Generating cluster_config.json
- Cluster_config.json Sample
- General configuration
- Profile configuration
- Certificate configuration
- Database configuration
- External Objectstore configuration
- Pre-signed URL configuration
- ArgoCD configuration
- Kerberos authentication configuration
- External OCI-compliant registry configuration
- Disaster recovery: Active/Passive and Active/Active configurations
- High Availability Add-on configuration
- Orchestrator-specific configuration
- Insights-specific configuration
- Process Mining-specific configuration
- Document Understanding-specific configuration
- Automation Suite Robots-specific configuration
- AI Center-specific configuration
- Monitoring configuration
- Optional: Configuring the proxy server
- Optional: Enabling resilience to zonal failures in a multi-node HA-ready production cluster
- Optional: Passing custom resolv.conf
- Optional: Increasing fault tolerance
- Adding a dedicated agent node with GPU support
- Adding a Dedicated Agent Node for Automation Suite Robots
- Step 15: Configuring the temporary Docker registry for offline installations
- Step 16: Validating the prerequisites for the installation
- Running uipathctl
- Manual: Performing the installation
- Post-installation
- Cluster administration
- Managing products
- Getting Started with the Cluster Administration portal
- Migrating Redis from in-cluster to external High Availability Add-on
- Migrating data between objectstores
- Migrating in-cluster objectstore to external objectstore
- Migrating from in-cluster registry to an external OCI-compliant registry
- Switching to the secondary cluster manually in an Active/Passive setup
- Disaster Recovery: Performing post-installation operations
- Converting an existing installation to multi-site setup
- Guidelines on upgrading an Active/Passive or Active/Active deployment
- Guidelines on backing up and restoring an Active/Passive or Active/Active deployment
- Scaling a single-node (evaluation) deployment to a multi-node (HA) deployment
- Monitoring and alerting
- Migration and upgrade
- Performing a single tenant migration
- Migrating between Automation Suite clusters
- Upgrading Automation Suite
- Downloading the installation packages and getting all the files on the first server node
- Retrieving the latest applied configuration from the cluster
- Updating the cluster configuration
- Configuring the OCI-compliant registry for offline installations
- Executing the upgrade
- Performing post-upgrade operations
- Product-specific configuration
- Best practices and maintenance
- Troubleshooting
- How to troubleshoot services during installation
- How to reduce permissions for an NFS backup directory
- How to uninstall the cluster
- How to clean up offline artifacts to improve disk space
- How to clear Redis data
- How to enable Istio logging
- How to manually clean up logs
- How to clean up old logs stored in the sf-logs bucket
- How to disable streaming logs for AI Center
- How to debug failed Automation Suite installations
- How to delete images from the old installer after upgrade
- How to disable TX checksum offloading
- How to manually set the ArgoCD log level to Info
- How to expand AI Center storage
- How to generate the encoded pull_secret_value for external registries
- How to address weak ciphers in TLS 1.2
- How to check the TLS version
- How to work with certificates
- How to schedule Ceph backup and restore data
- How to collect DU usage data with in-cluster objectstore (Ceph)
- How to install RKE2 SELinux on air-gapped environments
- How to clean up old differential backups on an NFS server
- Error in downloading the bundle
- Offline installation fails because of missing binary
- Certificate issue in offline installation
- SQL connection string validation error
- Azure disk not marked as SSD
- Failure after certificate update
- Antivirus causes installation issues
- Automation Suite not working after OS upgrade
- Automation Suite requires backlog_wait_time to be set to 0
- Temporary registry installation fails on RHEL 8.9
- Frequent restart issue in uipath namespace deployments during offline installations
- DNS settings not honored by CoreDNS
- Upgrade fails due to unhealthy Ceph
- RKE2 not getting started due to space issue
- Upgrade fails due to classic objects in the Orchestrator database
- Ceph cluster found in a degraded state after side-by-side upgrade
- Service upgrade fails for Apps
- In-place upgrade timeouts
- Upgrade fails in offline environments
- snapshot-controller-crds pod in CrashLoopBackOff state after upgrade
- Upgrade fails due to overridden Insights PVC sizes
- Upgrade failure due to uppercase hostname
- Setting a timeout interval for the management portals
- Authentication not working after migration
- Kinit: Cannot find KDC for realm <AD Domain> while getting initial credentials
- Kinit: Keytab contains no suitable keys for *** while getting initial credentials
- GSSAPI operation failed due to invalid status code
- Alarm received for failed Kerberos-tgt-update job
- SSPI provider: Server not found in Kerberos database
- Login failed for AD user due to disabled account
- ArgoCD login failed
- Update the underlying directory connections
- Failure to get the sandbox image
- Pods not showing in ArgoCD UI
- Redis probe failure
- RKE2 server fails to start
- Secret not found in UiPath namespace
- ArgoCD goes into progressing state after first installation
- Missing Ceph-rook metrics from monitoring dashboards
- Mismatch in reported errors during diagnostic health checks
- No healthy upstream issue
- Redis startup blocked by antivirus
- Running High Availability with Process Mining
- Process Mining ingestion failed when logged in using Kerberos
- Unable to connect to AutomationSuite_ProcessMining_Warehouse database using a pyodbc format connection string
- Airflow installation fails with sqlalchemy.exc.ArgumentError: Could not parse rfc1738 URL from string ''
- How to add an IP table rule to use SQL Server port 1433
- Automation Suite certificate is not trusted from the server where CData Sync is running
- Running the diagnostics tool
- Using the Automation Suite support bundle
- Exploring Logs
- Exploring summarized telemetry

Automation Suite on Linux installation guide
Performing a single tenant migration
You can use the UiPath Automation Cloud™ Migration Tool to automatically migrate entities from your standalone Orchestrator to the Orchestrator service in Automation Suite.
This page provides details on the type of entities being migrated, the requirements for the migration from standalone Orchestrator to Automation Suite, the specific migration procedure, and any operations that may be necessary after the migration.
Before you begin
When planning your migration from on-premises Orchestrator to Automation Suite, it is advisable that you take the following steps:
- Upgrade to a supported on-premises Orchestrator version.
- Migrate from classic to modern folders, as classic folders have restrictions in Automation Suite.
- Run the migration tool to migrate from on-premises Orchestrator to Automation Suite.
Entities being migrated
When you run the Automation Cloud Migration Tool, it automatically creates the following entities in Automation Suite to match your standalone Orchestrator setup:
| Entity | Migrated | Not Migrated |
|---|---|---|
| Settings | Yes, with exceptions (see on the right). | Some settings that are exposed to the tenant on the read path cannot be modified in Automation Suite, like host logo and color. Passwords in the Settings table cannot be exported because the API removes the values from the response. As a result no passwords will be migrated. This affects email alerts (SMTP password) and external feeds with basic authentication. |
| Packages | Migrates all packages and all package versions. If a package feed is external and configured with basic authentication, the credentials will need to be input after the migration completes. | If a package feed is external and not accessible over the internet, entities that rely on these packages are not migrated. |
| Libraries | Tenant-level feeds only. | If a library feed is at the host level or is external and not accessible over the internet, entities that rely on these libraries are not migrated. |
| Calendars | Yes | N/A |
| Machines | Yes, but if there are not enough licenses to accommodate Machine slot assignments, the Machine will be imported with all slots set to 0. | Machine keys are not migrated. |
| Folders | Yes You can choose to migrate all folders in bulk, as well as individual folders. | Personal workspace folders are not migrated. |
| Environments | Yes, for classic folders. | N/A for modern folders. |
| Robots (classic) | Yes, but if there are not enough licenses to accommodate robot creation, the robot is skipped during import. | Skipped when licenses run out and an error is logged for each. |
| Robots (modern) | Modern robots are migrated if the user with which they are associated exists in Automation Suite and has the same email address. |
|
| Environment associations | The robot-environment mapping is migrated. | N/A |
| Processes | Processes are migrated. The tool may refer to these as Releases. | N/A |
| Queues | Yes | N/A |
| Triggers | Triggers are migrated, but are all set as disabled. | |
| Assets |
| Per-user asset values in modern folders are not supported. The asset is imported with the default value or skipped if none is set. |
| Machine associations | Robot-machine mappings are migrated. | N/A |
Entities not migrated
The following entities are not migrated by the tool:
- Folder feeds
- Users
- Queue items
- Action catalogs
- Webhooks
- Testing entities (test sets, test cases, test executions, test schedules, test data queues)
- Logs
Prerequisites
Before opening the tool, make the following preparations:
-
Make sure you have sufficient robot licenses in Automation Suite to match the number of robots being migrated (Admin > Licenses > Robots & Services). The tool only migrates robots as long as there are licenses available, after which it starts to skip robots.
-
You must have administrator credentials for the standalone Orchestrator and View permissions for all entities being migrated. If you don't have the View permission for some entities, those entities are not migrated.
-
You must be an organization administrator in Automation Suite.
-
To run the tool, you need a machine that:
- can connect to the standalone Orchestrator and to Automation Suite (has internet access)
- has the Windows operating system
-
Download the tool on the mentioned machine from this link.
-
Register the tool as an external application in the target Automation Suite organization.
Registering the tool as an external application
The migration tool needs to connect to the Orchestrator service API in Automation Suite to create the migrated entities. It uses the OAuth flow for this and therefore must be registered in Automation Suite as an external application.
-
Follow these instructions to add the tool as a new external application with the following specifics:
- Type: Non-confidential
- Resources: Orchestrator API
- User scopes: OR.Folders, OR.Settings, OR.Robots, OR.Machines, OR.Execution, OR.Assets, OR.Users, OR.Jobs, and OR.Queues.
- Redirect URL:
http://127.0.0.1:8888/auth/
-
Save the Application ID for later use.
Running the tool
The tool can migrate one tenant at a time. You can run the tool multiple times for each of your tenants.
With each run, the tool:
- Connects to your standalone Orchestrator to export entities for the given tenant.
- Connects to Automation Suite to import and create the migrated entities in the Orchestrator tenant.
For more information about entities that are subject to migration, see Entities Being Migrated.
To run the tool:
-
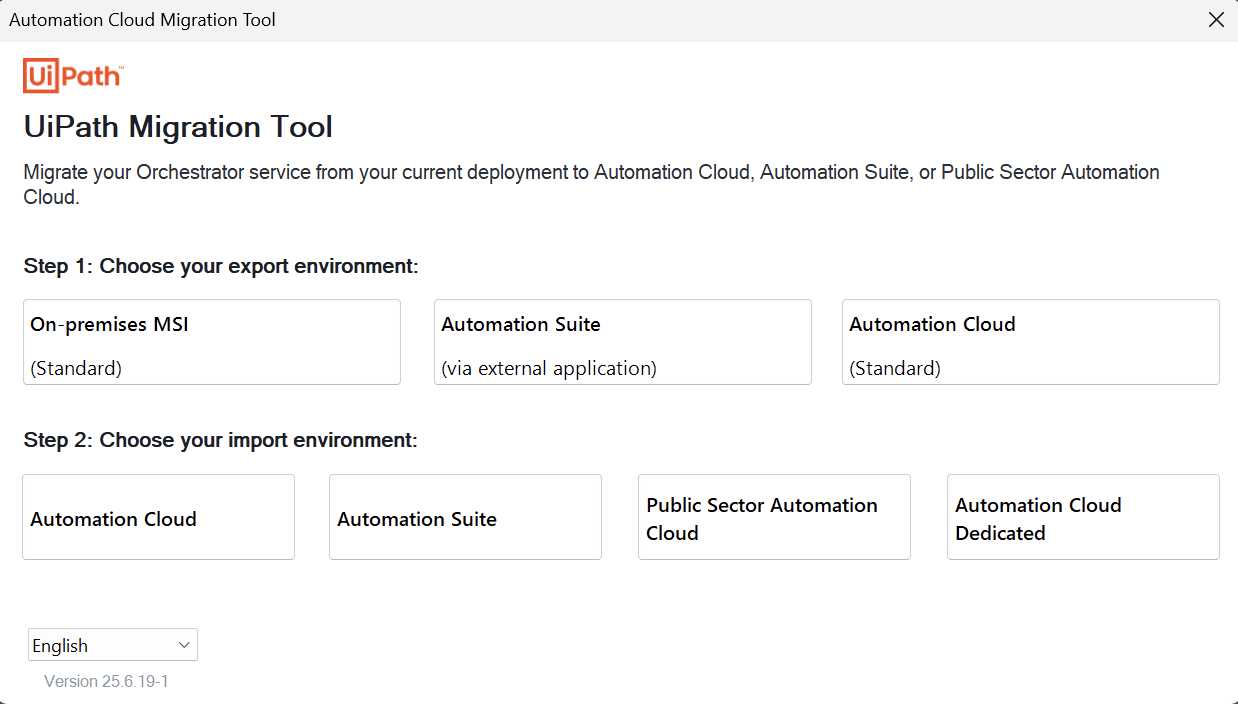
Extract the ZIP file you downloaded for the tool and then run the tool EXE.
-
For the activation method, choose Connect to On-Premises:
-
Fill in the information to allow the tool to connect to your standalone Orchestrator:
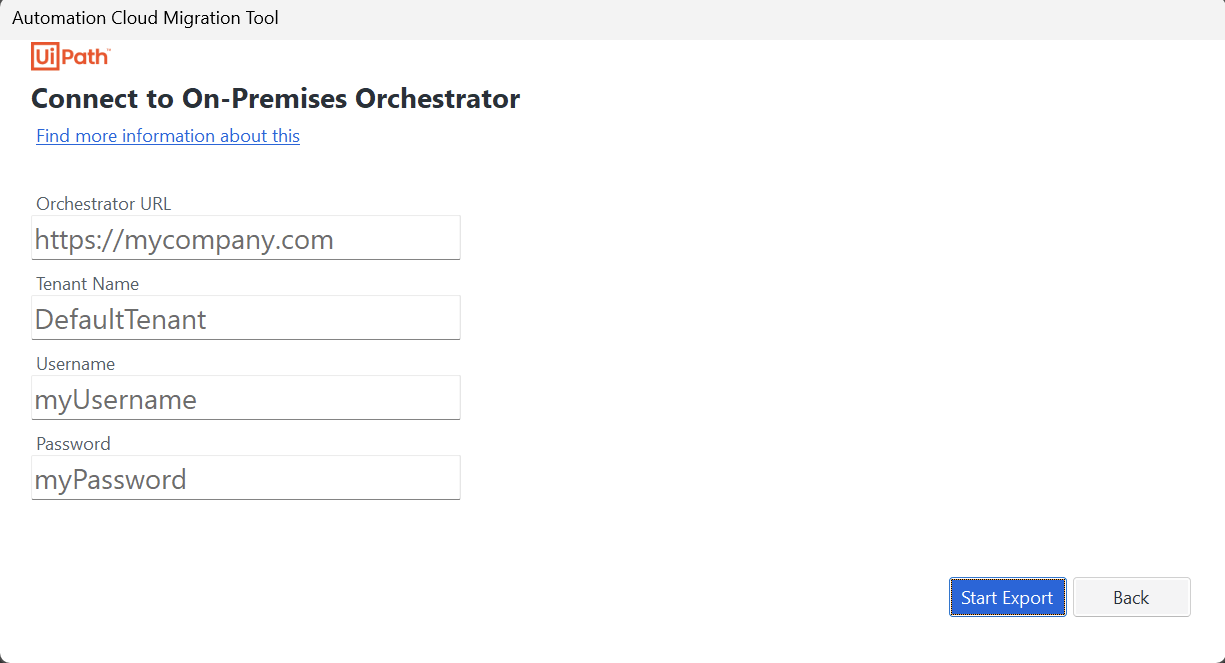
Make sure that the credentials you provide are for an administrator account that also has View permissions on all the entities you want to migrate.
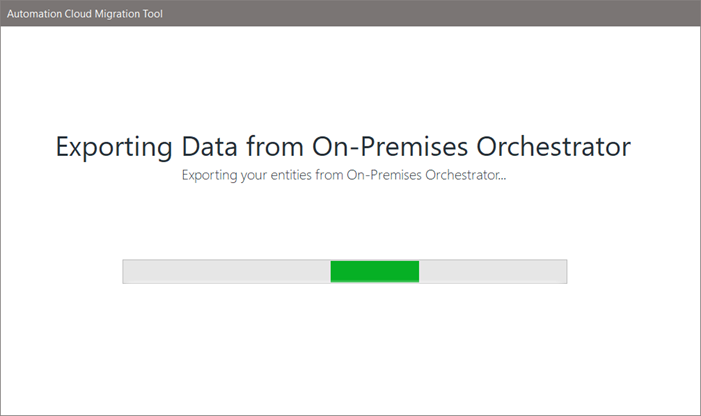
-
Select Start Export to connect to your standalone Orchestrator and download the setup information.The export begins and may take a while to complete:
When finished, the export summary lists all entities that were successfully exported:
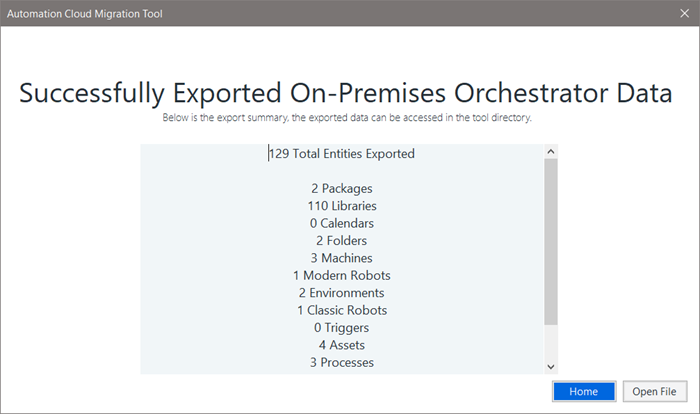
You can select Open File to view the local file created for the export summary, which includes a few more details.
-
Select Home to return to the first screen.
-
For the activation method, this time choose Connect to Automation Suite.
-
Fill in the information to allow the tool to connect to Automation Suite to upload the setup information:

Field Details Organization URL The URL of your Automation Suite organization. Organization administrators can find the organization name under Admin > Organization Settings. For example, enter https://mySite.com/myOrgName.Application Id The Application ID value associated with the external application registration in Automation Suite. You can find this value on the Admin > External Applications page. Tenant Name The exact name of the Automation Suite tenant where you want to add the migrated information. The migrated data will be visible in the specified Orchestrator tenant. Identity URL (optional) The identity endpoint URL for your Automation Suite organization. For example, enter https://mySite.com/myOrgName/identity_. -
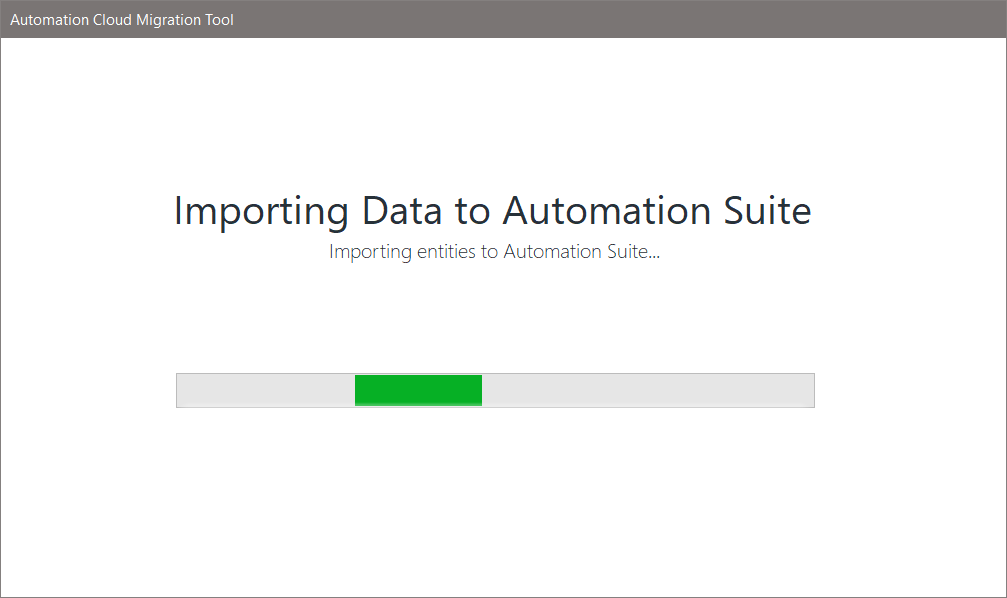
Select Start Import to connect to Automation Suite and start to migrate the information to the target Orchestrator tenant.
The import begins and may take a while to complete:
To connect to Automation Suite using OAuth, a user with the adequate permissions for the scopes added when you registered the external application must log in to Automation Suite. When they do, a new window opens with a success message if the OAuth flow was successful:

When finished, the import summary lists all entities that were successfully imported into the Orchestrator tenant in Automation Suite:
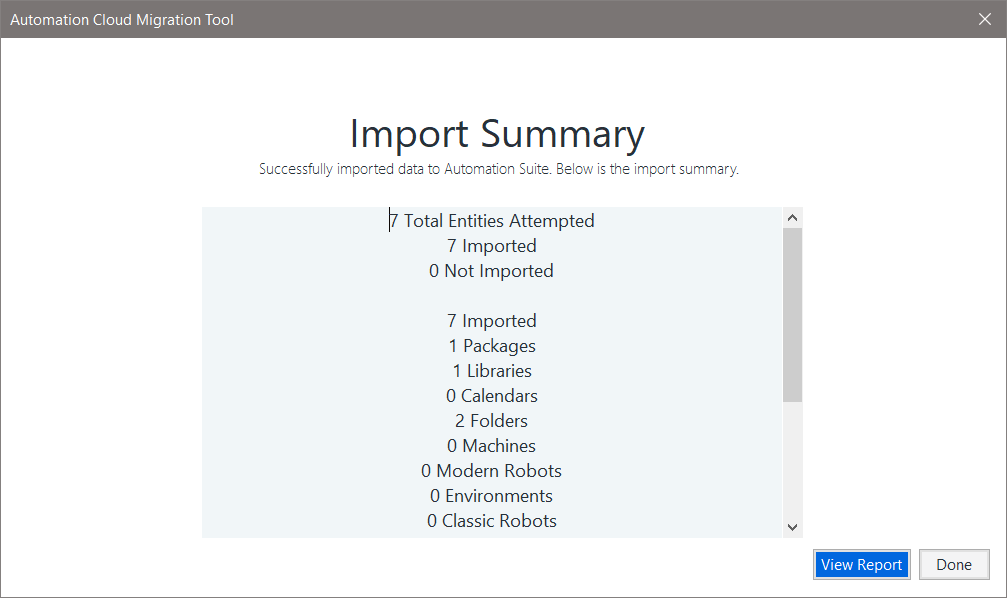
Anything that was not imported is listed as an error and partial imports are listed as warnings. You can select View Report for more details about exactly which entities encountered an error or warning.
-
When ready, select Done to close the tool.
Tip:If needed, you can run the tool again to migrate data for additional tenants.
Post-migration tasks
Because the tool cannot migrate everything, there are some final tasks that you must perform manually to obtain the same setup as you had in your standalone Orchestrator.
-
In Automation Suite, log in to the organization of the tenant that was the import target and then open Orchestrator.
-
Check that folders and entities were successfully migrated.
You can use the import summary to check the specific items that had warnings or errors.
-
Allocate robot and service licenses for Orchestrator.
During import, machines are created and licensed while available licenses exist. After licenses run out, machines continue to be created without licenses, so you must update any such machines to allocate the adequate number of licenses.
Note:If you migrated without activating your Automation Suite license, at this stage you need to activate it to continue with the setup.
-
Manually upload any library feeds that the tool did not migrate.
-
If any robots were skipped during export or import, manually create them.
-
Create any webhooks, task catalogs, credential stores, or other information that the tool does not migrate.
The section Entities being migrated includes a list of what the tool does not migrate.
-
Manually connect robots to the Automation Suite Orchestrator service.
-
Manually enable triggers as needed.
While the tool migrates triggers, they are all disabled and you must manually enable them.
-
Check any locations in Orchestrator where a password is required and add it: Robots, Settings, and Credential Assets.
Getting help
If you need assistance with an issue encountered during export, import, or after import, open a Support ticket and include the following files:
- Log file (in the logs sub-folder)
- Export report file (in the MigrationAssets sub-folder)
- Import report file (in the MigrationAssets sub-folder)
In addition to these files, it would be helpful to know:
- The version of your standalone Orchestrator
- Your Automation Suite organization and tenant names.